Binary Patching CTF Writeup: Gen Z P’Batching Game
Author: mars-sec
Challenge: Gen_Z_P’Batching_game.exe
Category: Reverse Engineering / Binary Patching
Difficulty: Easy
1. Challenge Overview & Context
As a note, I have both a Windows 11 and a Kali Linux VM spooled up for tackling this challenge.
We are given a binary titled Gen_Z_P'Batching_game.exe. Lots of CTFs will give you a hint of what technique they are expecting you to use to capture the flag. Given our binary’s name, is there any method you might be able to infer?
My first assumption is that the CTF wants us to patch the executable, so after the usual CLI checks and running the program to understand the flow of the application, I jumped right into Ghidra to start our static analysis.
2. Initial Reconnaissance
File Identification
As one often starts out, we can run typical CLI checks. I chose to do this on my Kali VM. We check for file type and architecture.

Once we’ve noted what we’re working with, we can run this binary on our Windows 11 system.
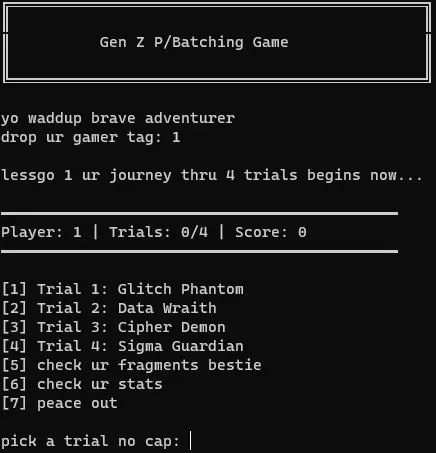
Looks like it opens a terminal window, and we are greeted with a text-based game with a certain Gen Z flavor as assumed by the title of the binary.
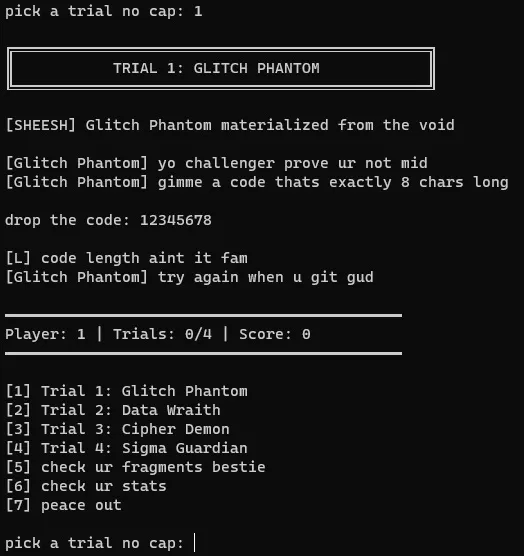
Entering our username, then choosing the first “trial,” we try a handful of random options. The character in the first trial seems to be asking for an 8-character passcode. My first thought is we need to take this binary apart and find out the passcode, so let’s make a note of that, and continue on going through all of our options in the game.
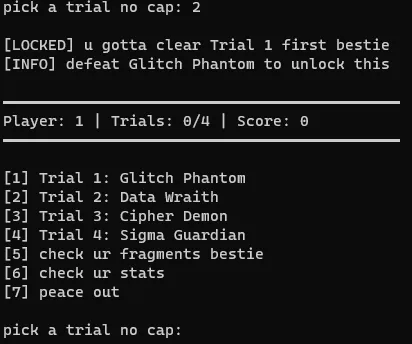
It doesn’t seem to let us enter the other trials, and with nothing else obvious to check in our terminal window, let’s take a look at it in Ghidra.
3. Static Analysis
Opening in Ghidra
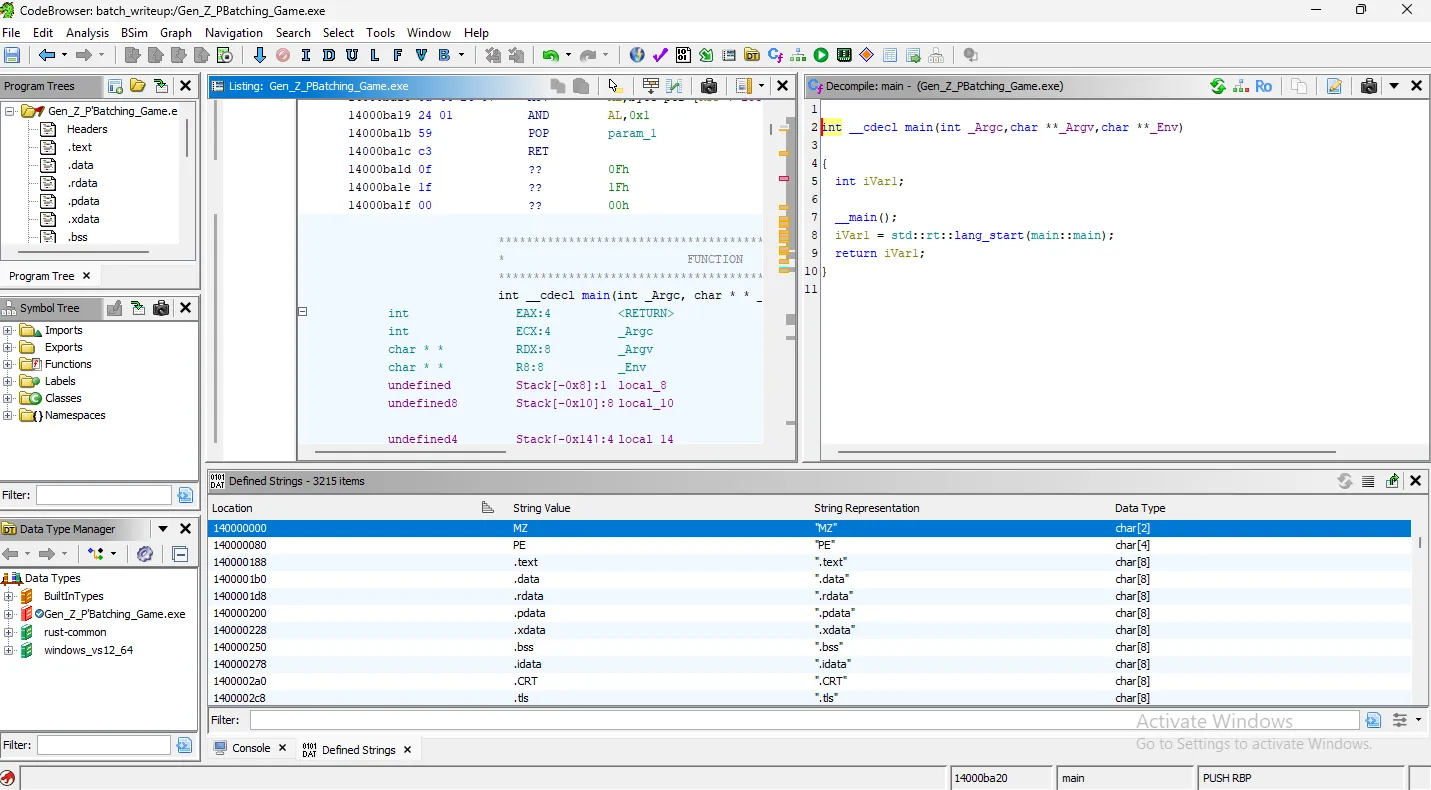
We open Ghidra and let it analyze the binary. It brings us straight to main, and it looks like it calls one function.
Let’s not get ahead of ourselves here. We didn’t run strings on our Linux machine because I prefer Ghidra’s Defined Strings window. Let’s take a look at this now.
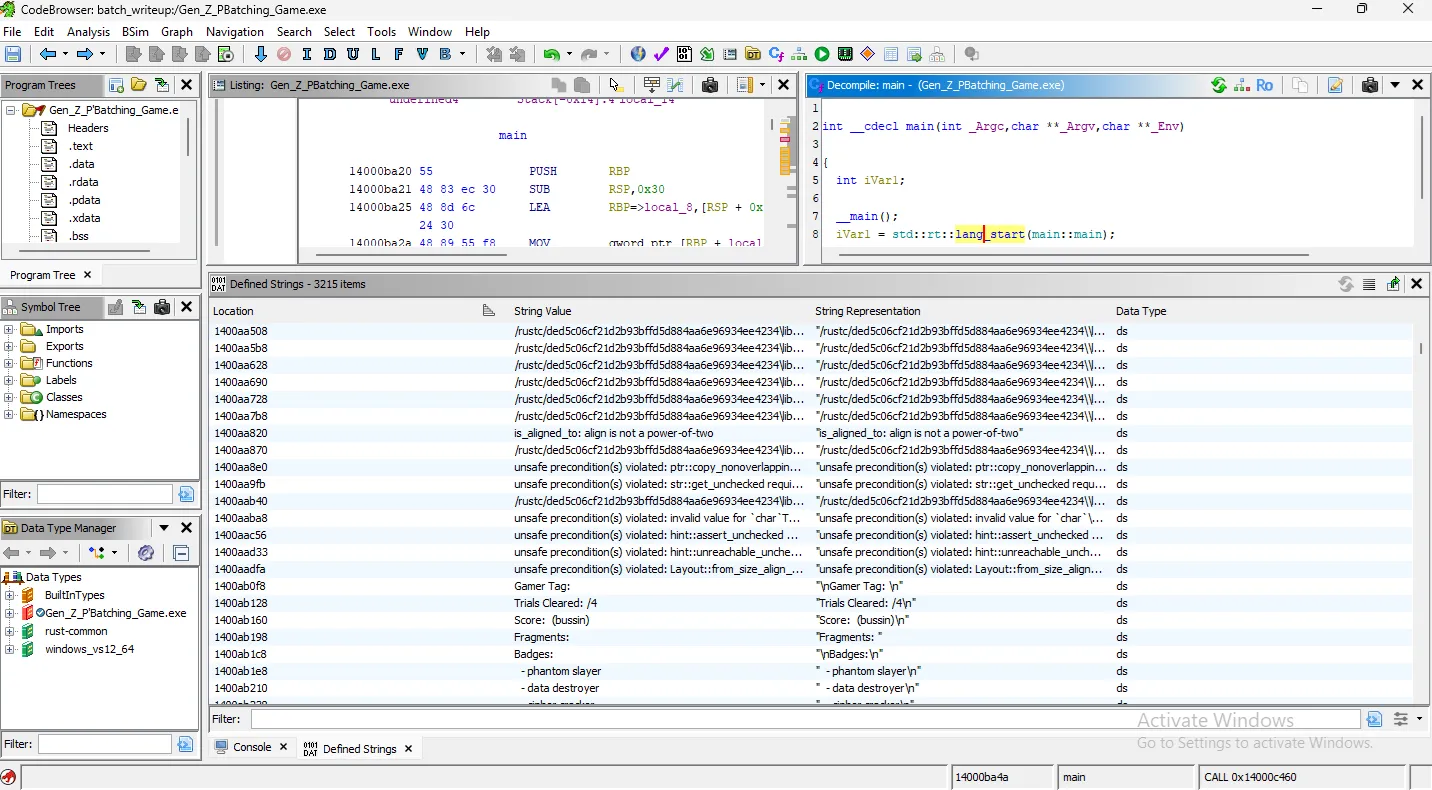
There are clearly lots of references to Rust, so we can infer this was created with the Rust language.
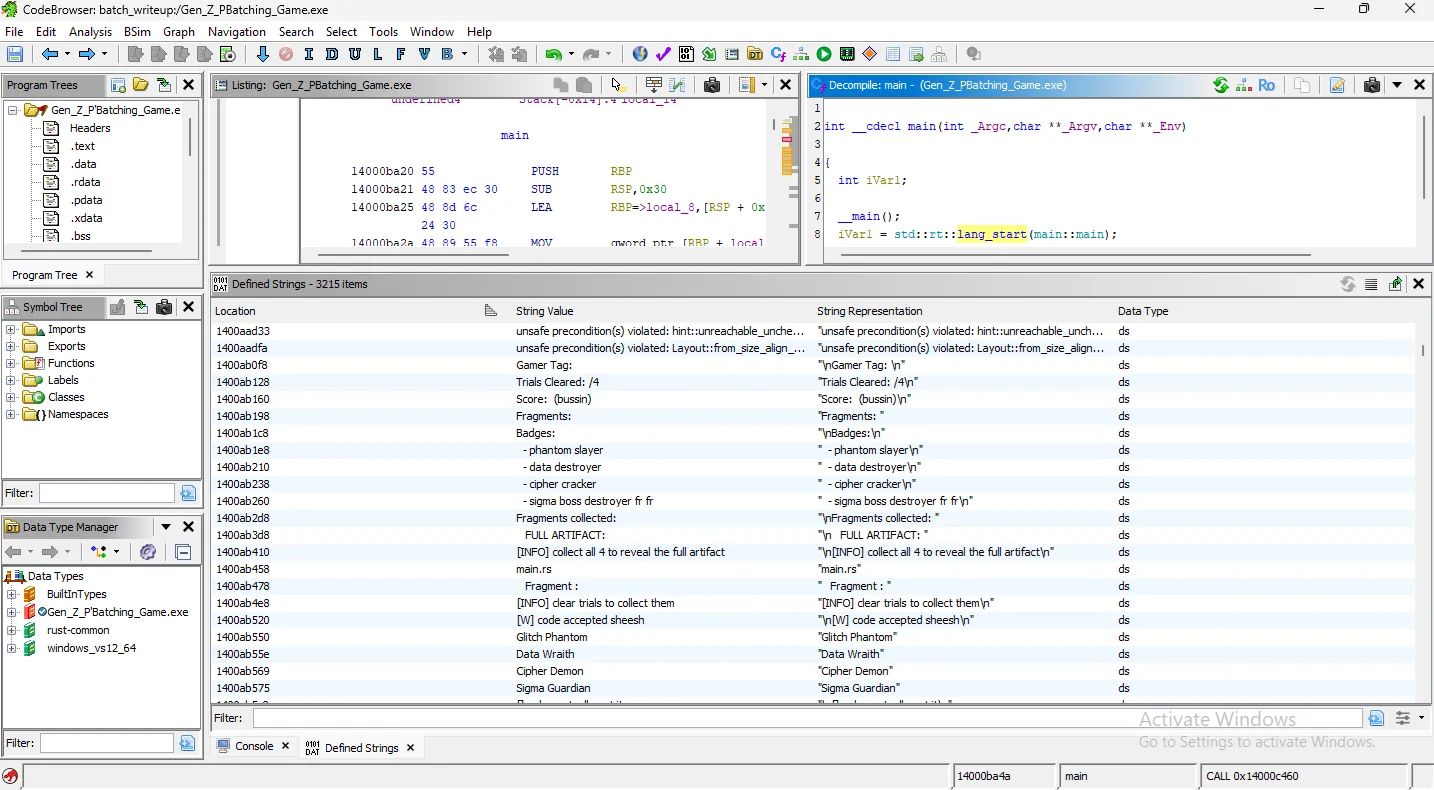
Immediately, we see all of the text choices and outputs from the terminal that we saw when we ran the binary. This is good! Let’s investigate further. We now know, from these strings, that we need to pass all four trials to get the flag.
Strategy Consideration
There are two immediate options that we can consider to solve this and get the flag. Firstly, we know the context from the file name, that maybe the CTF wants us to patch the game in order for us to easily pass each trial and get the strings. Alternatively, I think we may be able to find the strings and decode them one way or another, without needing to really interact with the binary live.
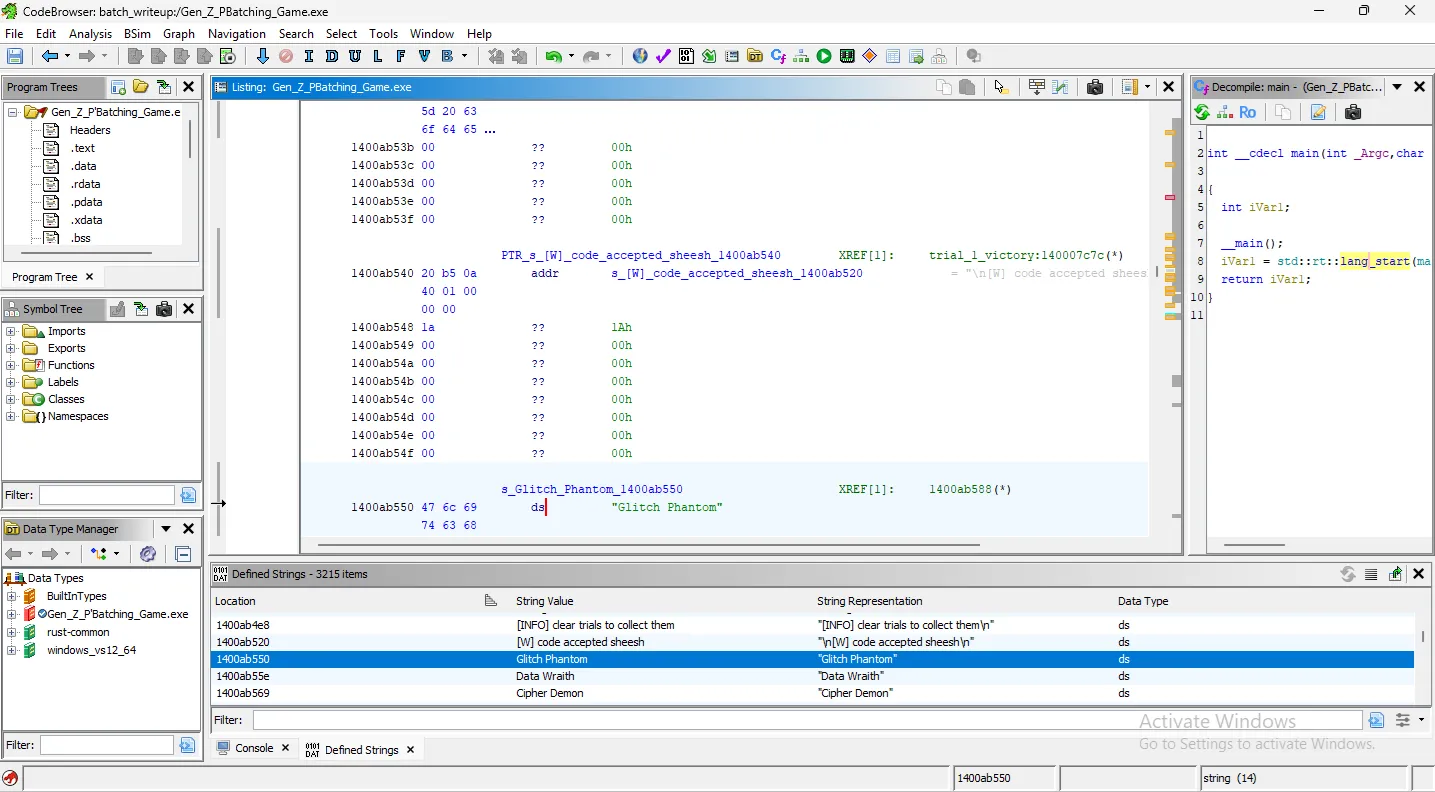
Patching the binary is my first choice, so I want to get to the portion of the program that would give us the first fragment. Since we ran the binary, we know that section of the program is preceded by the Glitch Phantom’s dialogue. Let’s go there!
Finding the Validation Logic
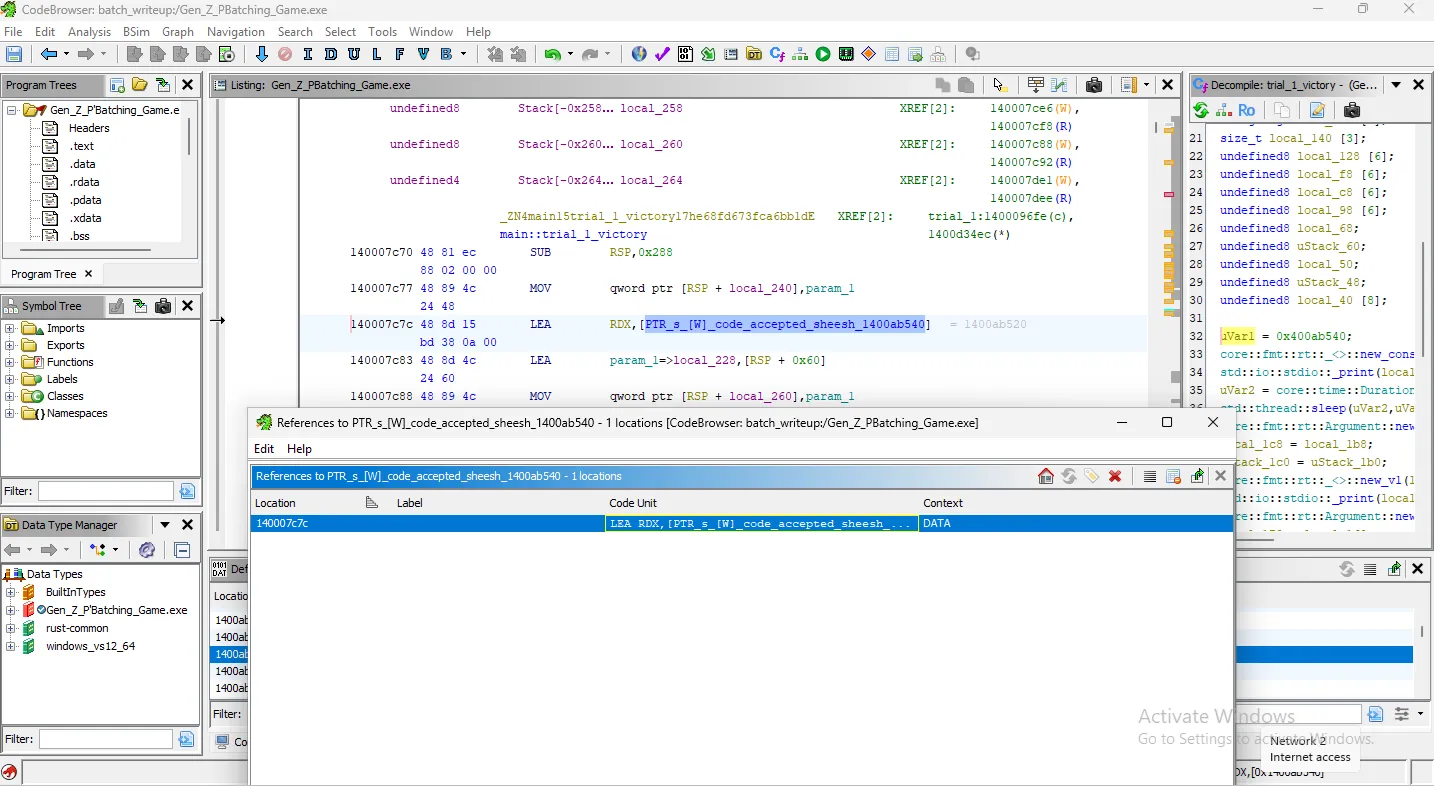
Clicking into the string, the Listing frame shows us where this string lives. Directly above it though, is a more enticing symbol: ...code_accepted_sheesh...
We can right-click this symbol, go to References, and choose “Show References to this pointer.”
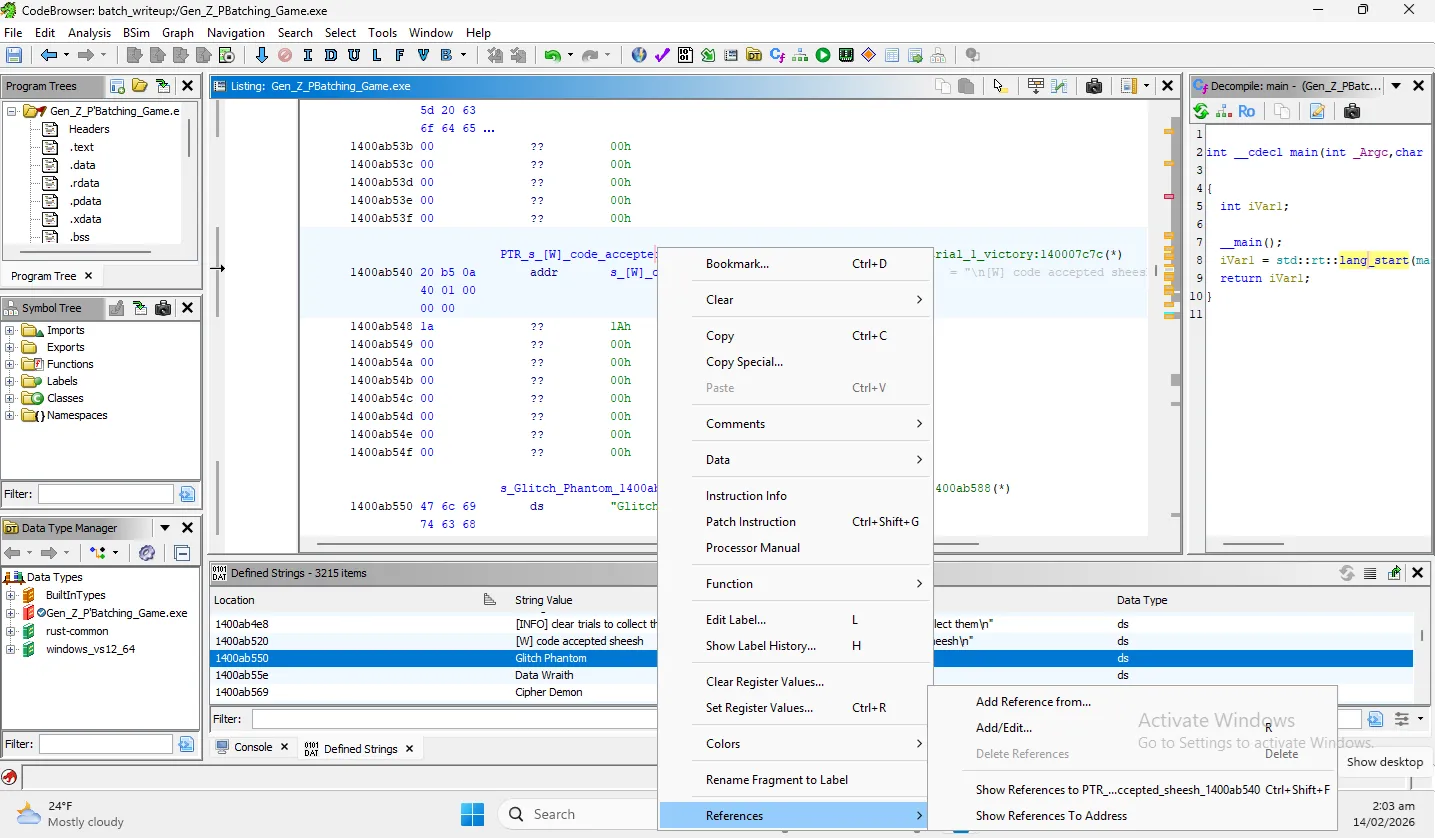
This pointer brings us to a single reference, and the function that references it is titled main::trial_1_victory. This is promising! But not quite exactly what we’re looking for. I want to know what the program is doing directly before trial 1 victory happens.
In our symbol tree window on the left, we’re going to filter for the word “trial”. The first four returned are all trial_x_victory symbols, but right after look like the validation symbols. The next symbols are the trials themselves. This is more of what we were hoping for!
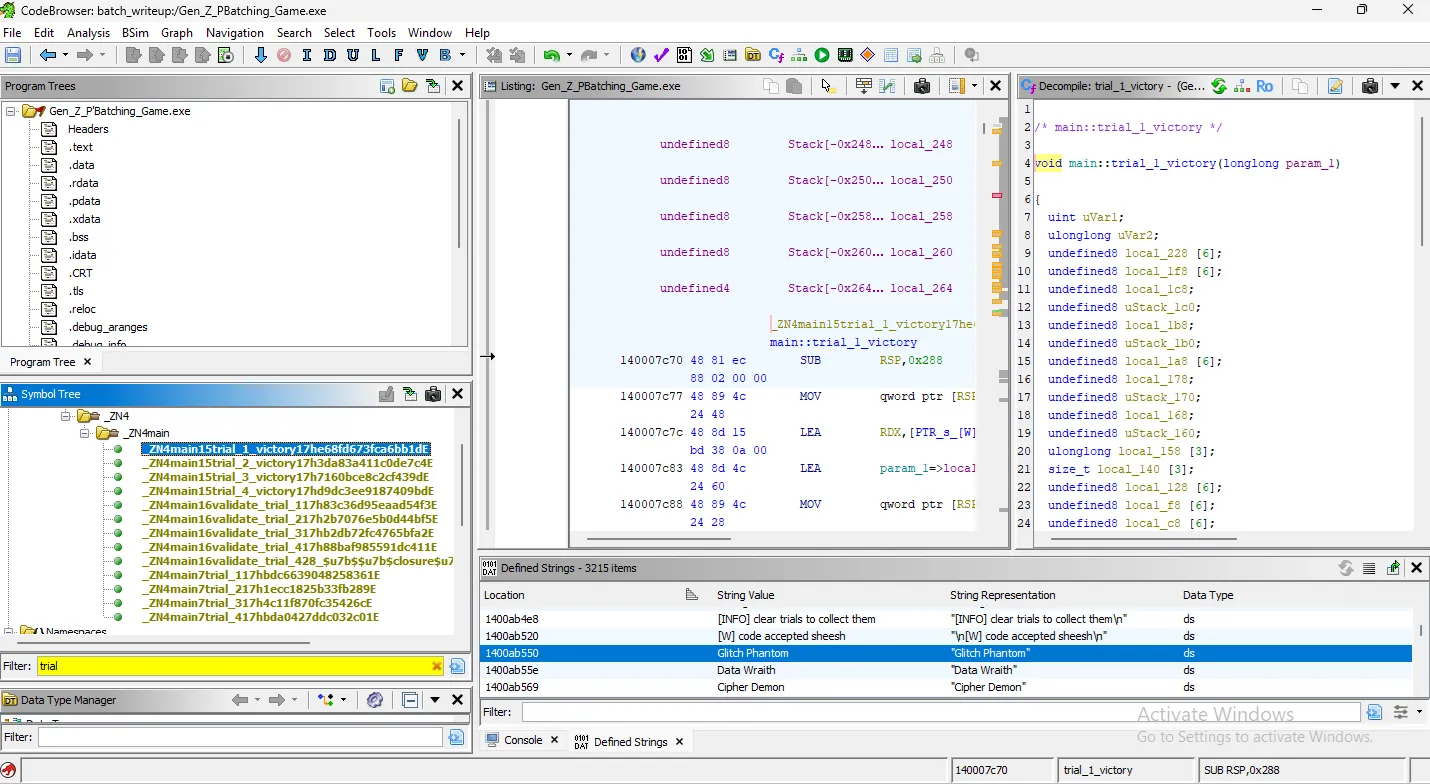
Let’s take a look at the first trial itself.
4. Trial 1: Finding and Patching the Flaw
With a quick review, we’re searching for where the validate_trial or the trial_1_victory functions are called. It looks like they’re called here:
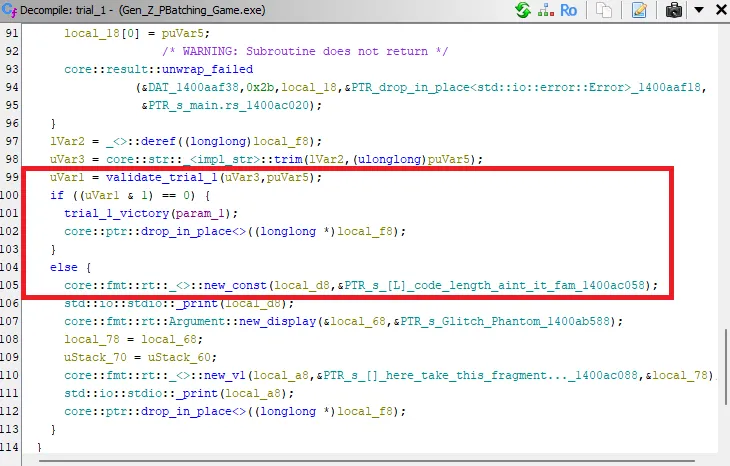
If validate_trial_1(...) returns a value whose bit 0 is 0, you win. If bit 0 is 1, you fail and it prints “code length ain’t it fam,” which we saw when we ran the binary initially.
So it looks like we’re looking to find a code with the correct length, which the Glitch Phantom told us was 8 characters long. Hm… we did try that earlier. Maybe it’s referring to a specific code, instead of any that is 8 characters long.
Time to take a look at validate_trial_1 to see if there are extra checks!
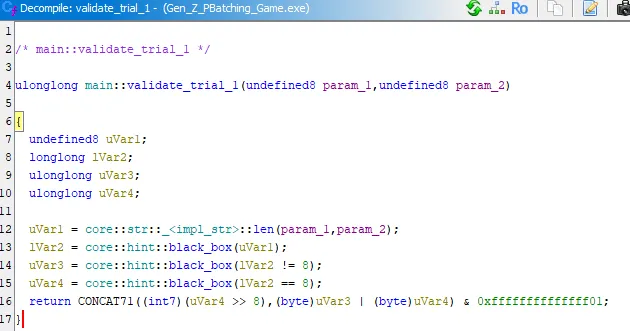
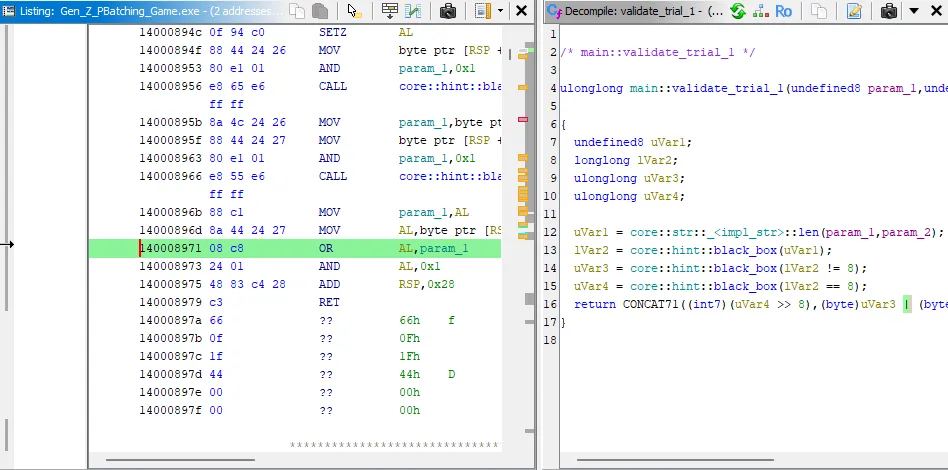
Seems like the important part is the comparison on line 16. Reviewing it, it sets both Var3 and Var4 to either True or False. But no matter what, one will always be True, and one will always be False, no matter the string length.
The OR comparison of Var3 and Var4 will always compute to 1. But to pass, validate_trial_1(...)’s bit 0 needs to be 0. This function will always fail, and is intentionally impossible. We need to fix it!
Patching Strategy
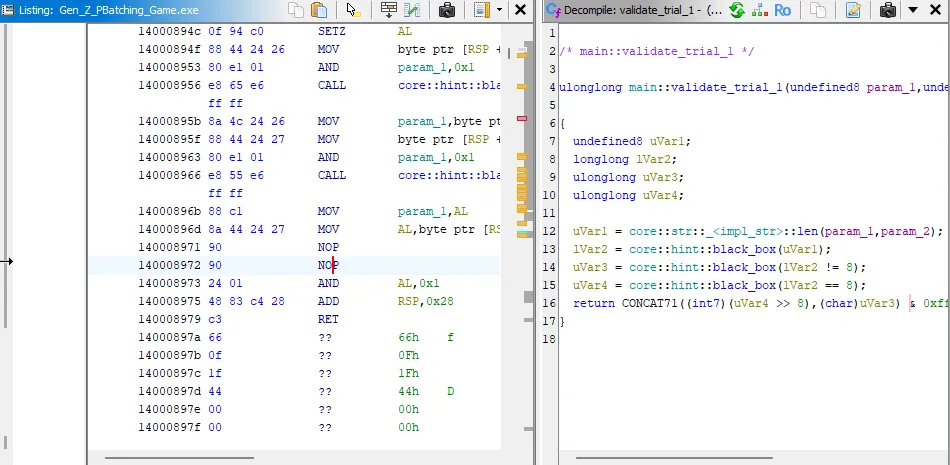
We can find the OR assembly comparison, and NOP those two bytes out to skip that check.
To do so, I clear address 140008971 (because disassembled, it’s not listing 140008971 AND 140008972, which we need to patch both or the program will crash), and manually patch these two addresses with NOP instructions.
Let’s test our patch out, and see if this modifies the behavior (and doesn’t crash!) as expected.
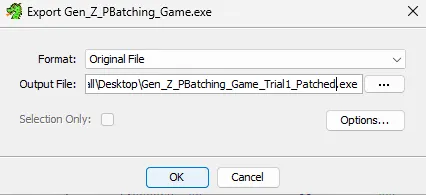
Export our patched binary out of Ghidra and run.
Success:
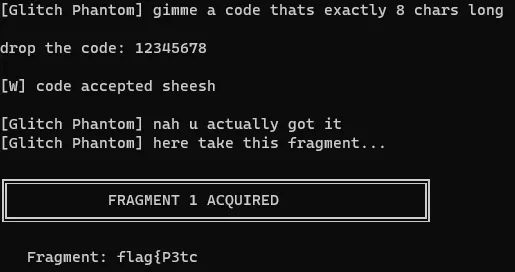
Sweet! There’s our first flag fragment. Save that off, and let’s continue our workflow.
5. Trial 2: Repeating the Pattern
Now that we got trial 1, let’s see what trial 2 wants in the game.
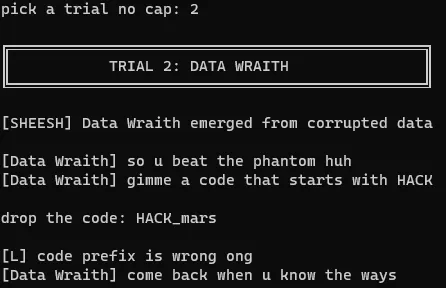
It doesn’t accept HACK_mars, saying our prefix is wrong. My first instinct is that the same problem exists for trial 2 that existed for trial 1.
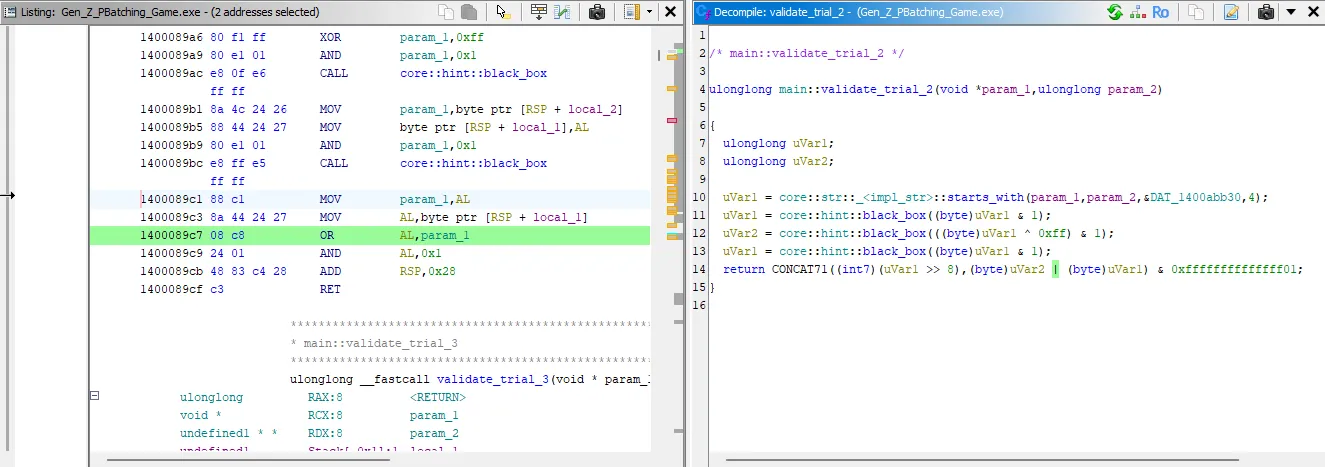
We already know what we’re looking for, let’s go to the validate_trial_2 symbol from our symbol tree.
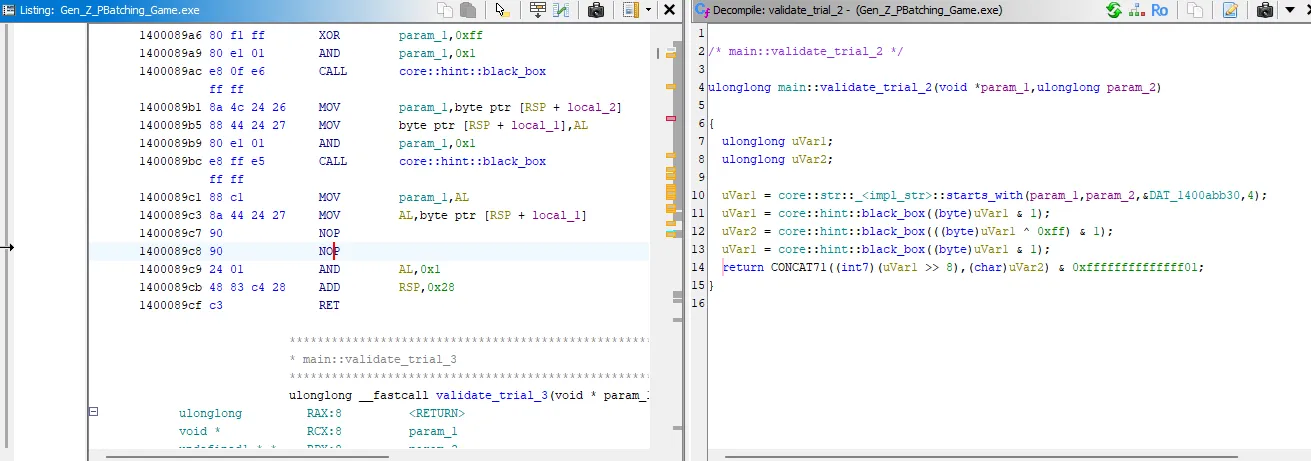
Looks like very similar logic, let’s apply our same patch, bypassing the OR operation, and see what happens.
Apply the same patch:
Result:
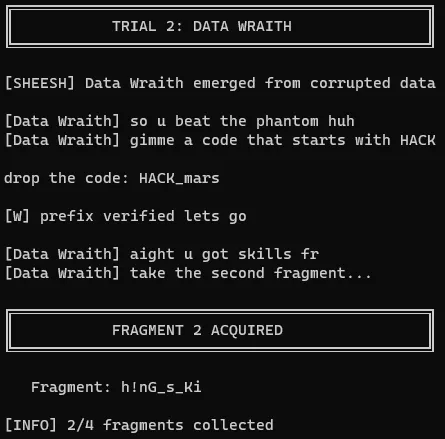
Beautiful, we have the second flag fragment! Our workflow is working well, so let’s not change anything. Let’s see what trial 3 wants.
6. Trial 3: Continuing the Workflow
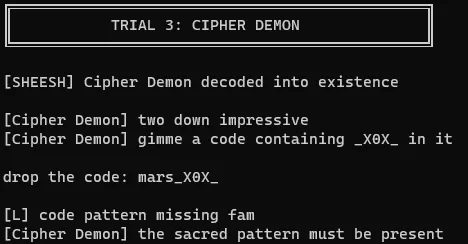
A code with _X0X_, go figure, doesn’t work. Off to patching the OR operation with NOPs!
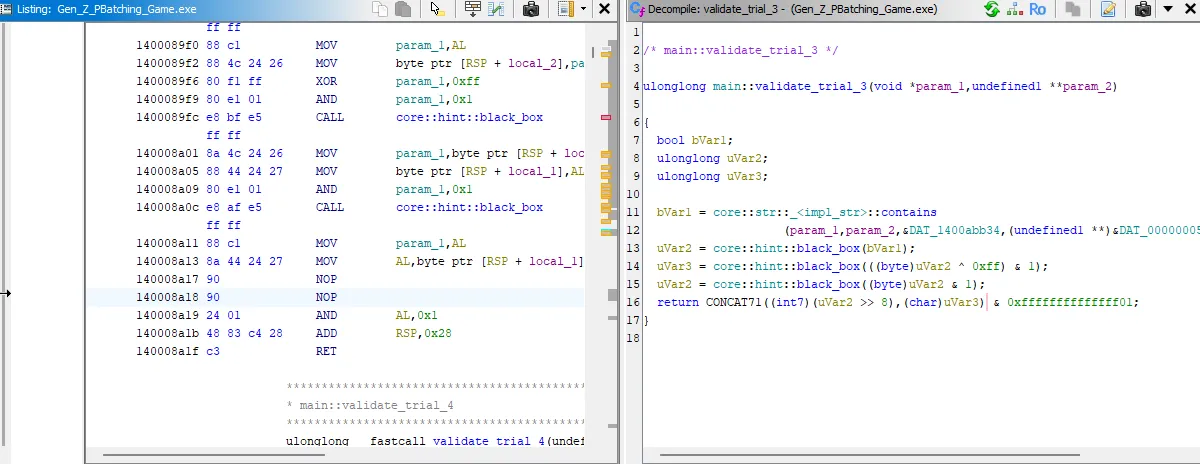
Success:
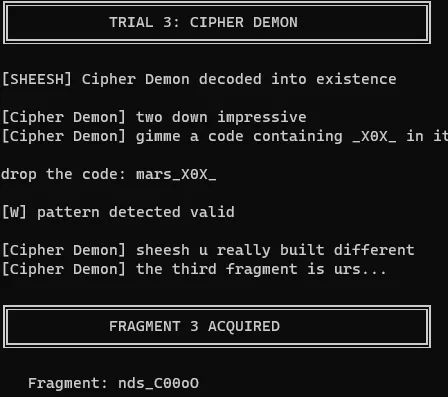
Our patch for trial 3 works, we got our third fragment, let’s see what trial 4 wants.
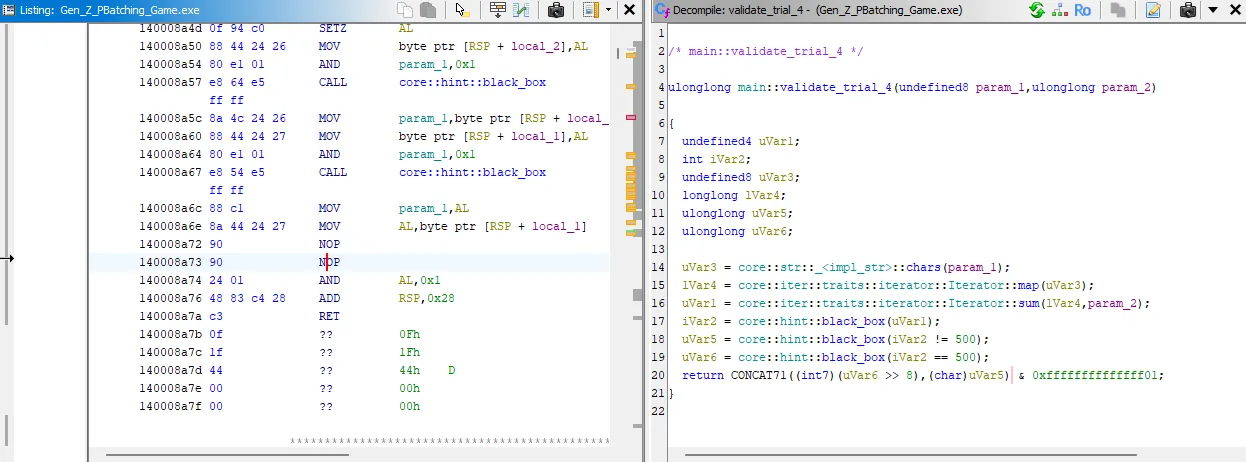
7. Trial 4: The Final Fragment
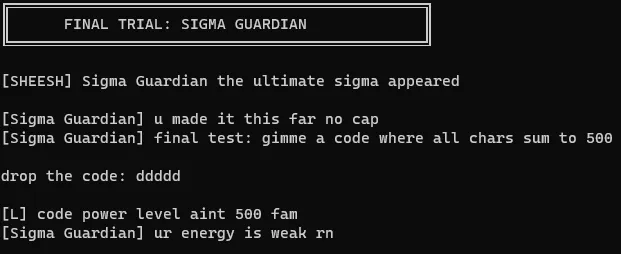
A quick Google search for “ascii 100 to char”, we find that the lowercase ‘d’ should equal 100. Let’s give it five of those.
Denied, as expected. Let’s run our same patching operation and see what happens!
Final fragment obtained:
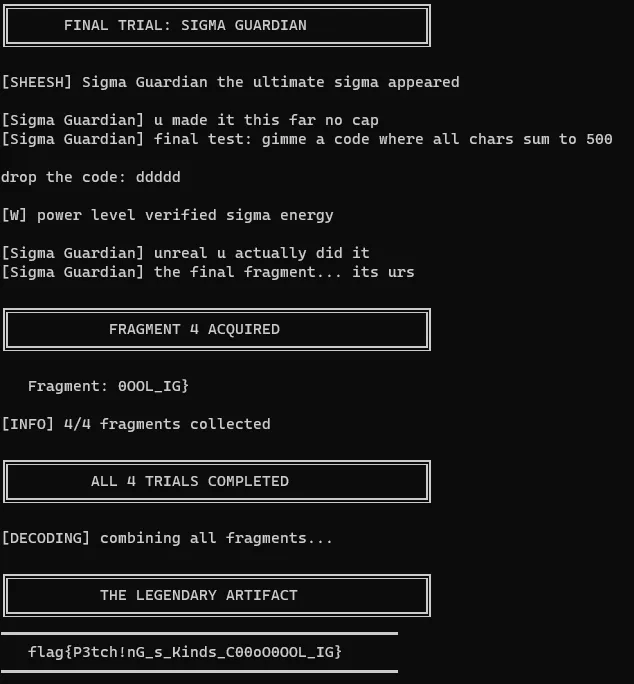
There’s the LEGENDARY ARTIFACT.
8. Key Takeaways
- Binary Analysis Workflow: Starting with file identification, running the program to understand behavior, then diving into static analysis
- Understanding Compiled Languages: Recognizing that this was a Rust binary from the string references
- Logic Flow Analysis: Understanding how validation functions work and identifying intentionally impossible logic
- Binary Patching: Using NOP instructions to bypass problematic checks without needing to reverse engineer the entire validation algorithm
- Iterative Problem Solving: Once the pattern was identified in Trial 1, applying the same technique to subsequent trials
The “P’Batching” pun in the title was indeed a hint that binary patching was the intended solution path!
9. Resources for Beginners
Getting Started with Reverse Engineering
Assembly & Disassemblers
Binary Patching
CTF Practice
File Formats
Communities
I hope you learned something from reading through!